Showing posts with label Axis. Show all posts

Monday, 20 October 2014

So many games, so little time #3: Simple painting to good effect - Part 3

Here we are back for part 3 which I will go over the picking out the detals & leg armour plates. Decals & weathering will follow in another part shortly.

So the main body of the walker is done but there are armour plates on the legs which have not been given any love as yet.

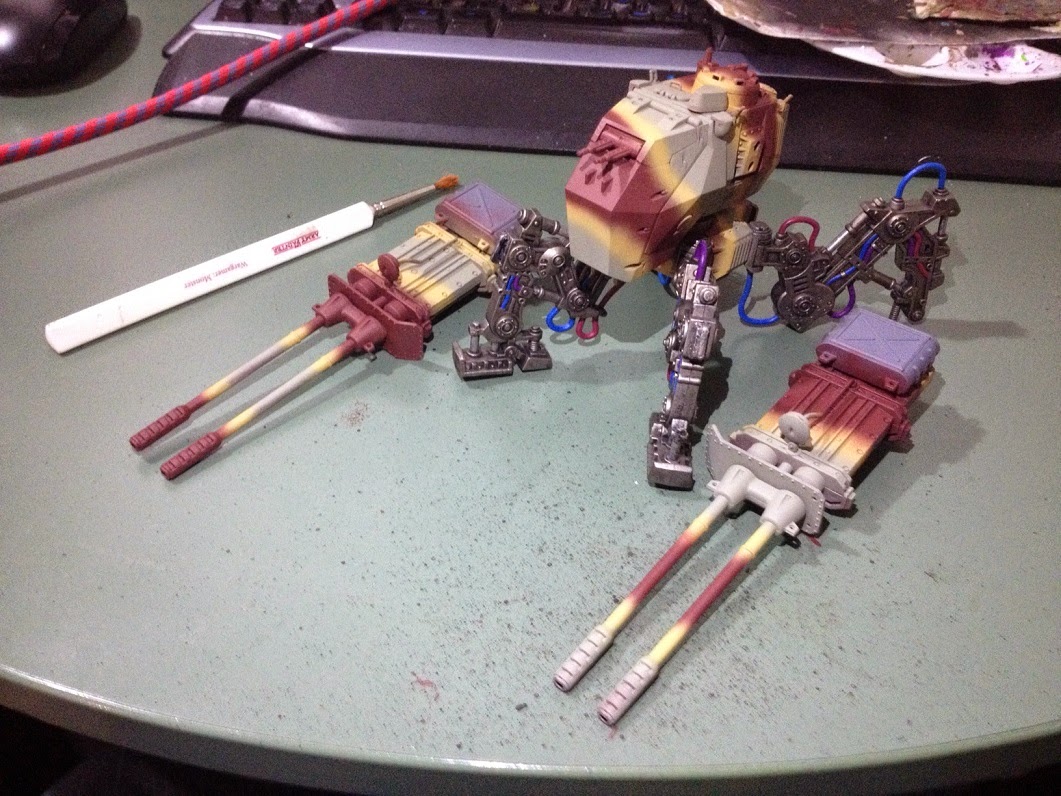
For these I did the same technique as the the main body where I sprayed them with the Red Brown all over, put in a large Green Grey area, thin line of Yellow Ochre to separate the 2 other colours then a final touch up of any over spray.


Next up I needed to define the details on the miniature as looking at it from any distance you just see a mess of colours from the camo. I know this was kind of the point of camo BUT this is a scale model remember and you do want to be able to make out what you are looking at.

The method I decided to use is called pin-washing, instead of slathering wash over the entire mini with a large brush which I have tended to do in the past I applied the wash just to the recesses with a thin brush. This was far more time consuming having to work around every panel joint but the colours of the model remained far more vibrant than if the mini had been bathed in a wash.

The paint I used was the Army painter ink "Dark Tone" which is just amazing and the Army Painter Inks are now my go to washes.

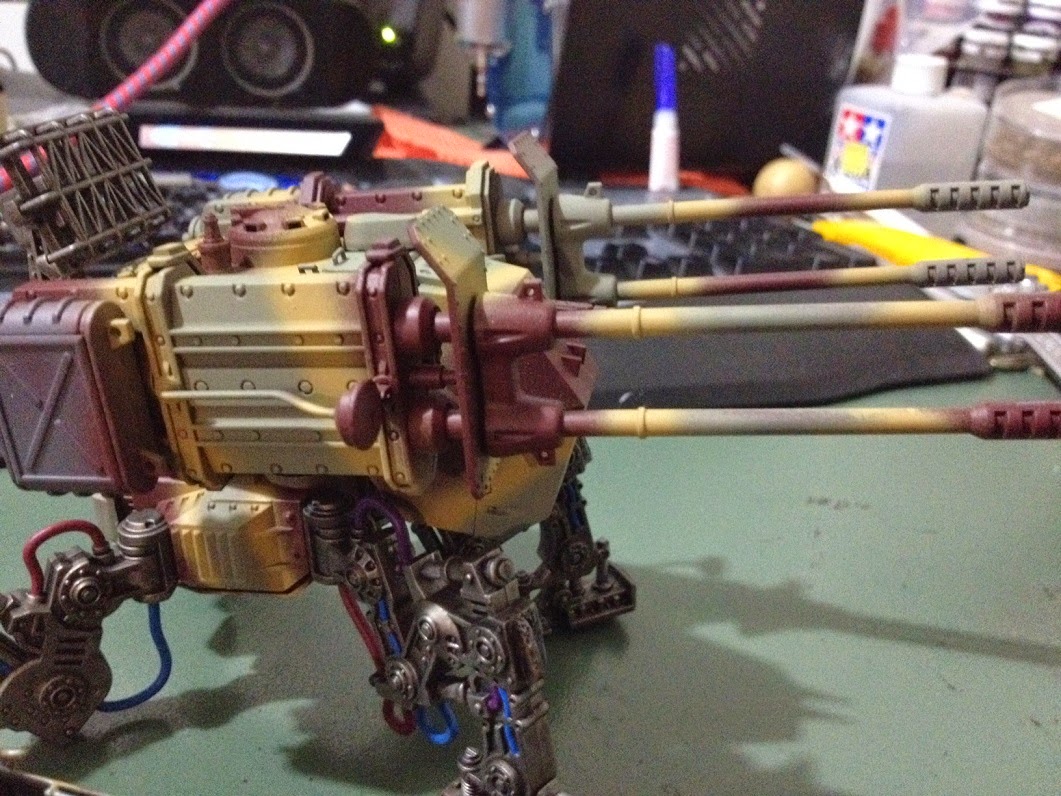
Here you can see the first part of the walker that I pin-washed vs the other arm which has yet to have it done. Hopefully you can spot which is which!


Here is both of them having been pin-washed.


Next up I did the same pin-washing to the main hull.


Which when you put them together you get.


Lastly I finally attached the leg armour plates that I talked about right at the start and the mini is looking nice and factory fresh, ready for unit markings and some wear and tear added (but keeping that new walker smell).


The final part where I do the decals and weathering will be up soon.

Monday, 6 October 2014

So many games, so little time #2: Simple painting to good effect - Part 2

Onward and upwards with this little project.

Now we have paint down on the entire mini its time to block in some camo on the main hull and guns. I have used my airbrush to put down some soft edge camo but there is nothing stopping you using a brush to do hard edge camo or some masking to do splinter/dazzle style camo.

This is the basic soft edge camo look I went for, except I went for bigger areas in a more stripe pattern.

Without an airbrush you could easily do a hard edge camo like this instead.

Or be adventurous and go for dazzle style camo.

So this is where we left the project at the end of part 1.

I first started off airbrushing some big Green Grey areas to break up the shape of the walker.


Once that was done I ran a thinner Green Ochre line where the Red Brown & Green Grey meets to give my my 3 tone camo that matches some other vehicles in my army.


I had some pretty bad over spray on the Red Brown at this point due to being only new to airbrushing myself so I went back over the Red Brown with the airbrush to fix that up. Red Brown from the Modelair range is also a specific airbrush paint so it comes out of the brush nicer and easier to control than the other 2 so leaving that till last was always the plan.


At this point I also painted the ammo storage magazines on each gun arm the P3 colour Traitor Green. 


So that is where I am at now. The big areas of the mini are all done so that just leaves the leg armour plates, picking out the details, decals and some weathering to go.

Stay tuned for part 3 in which I will sort the leg armour and go over some of the details I pick out.

Wednesday, 24 September 2014

So many games, so little time #1: Simple painting to good effect - Part 1

Hello everyone,

My name is Damian Caulfield and I am a plasticrack addict.

Like most wargamers I have a mountain of unpainted minis and am too easily distracted by new shineys to make much of a dent in it. I will be writing a long series of posts on the new T.C.O.W blog detailing my never ending journey (wah-oh-ah-oh-ah-oh-ah-ee-oh) of getting things painted. This should help keep me on track and hopefully impart some wisdom to newer painters. I don't claim to be a great painter but I do find that I get decent results using very basic techniques that anyone with basic brush skills should be able to pull off.

For my first lot I will be painting the Axis Super Heavy Walker Sturmkönig from the Dust Tactics game made by Battlefront.

I have picked the colours Red Brown, Green Ochre and Green Grey from the Vallejo range as the main colours of this force so I will be using these heavily on any Dust related posts.

So here we go...

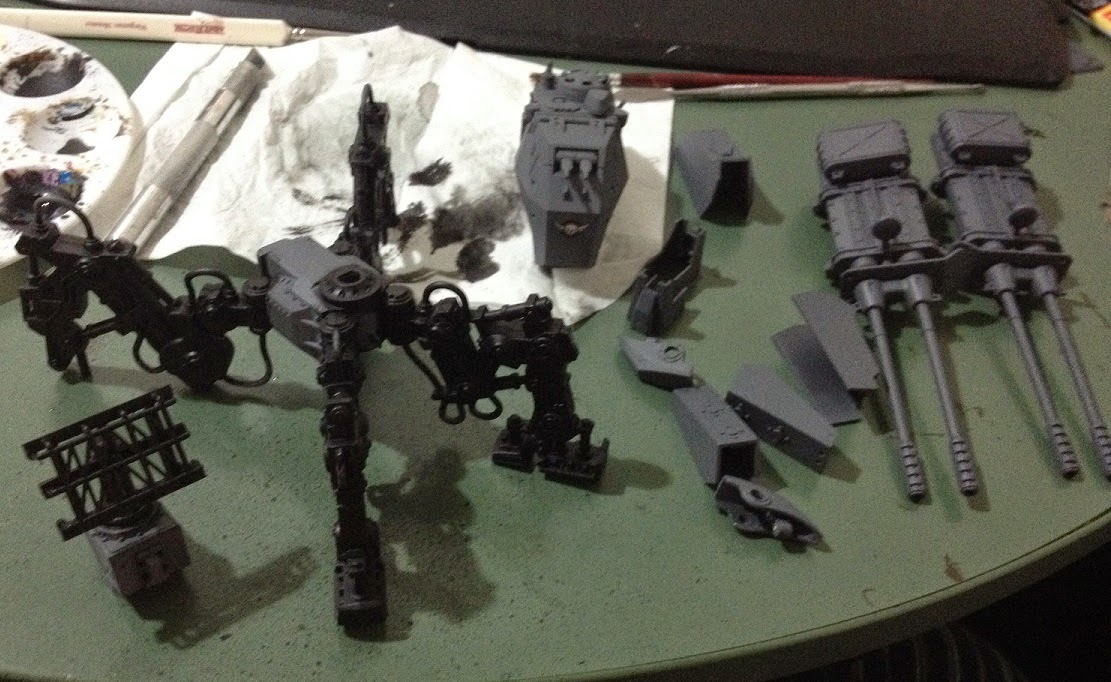
1, First step I decided I was going to airbrush all of the armour plates so I removed the armour plates off the legs (Dust minis come pre-assembled) and primed the large metal areas black (Vallejo Black Surface Primer).


2, Next I used a technique I call "wet brushing(tm)" which is similar to Damian Reids infamous "dry brushing(tm)" but I use it to cover large areas with a solid colour but leaving some of the recesses the base colour. If you follow any old drybrushing tutorial but actually load up your brush with paint and not get rid of it all you follow the same method of mostly trying to only hit the raised areas with large sweeps of a big brush (I use Army Painters Monster brush in this article). You don't need to be too careful as this will be followed up with a heavy ink which will bring back any recesses you painted. 


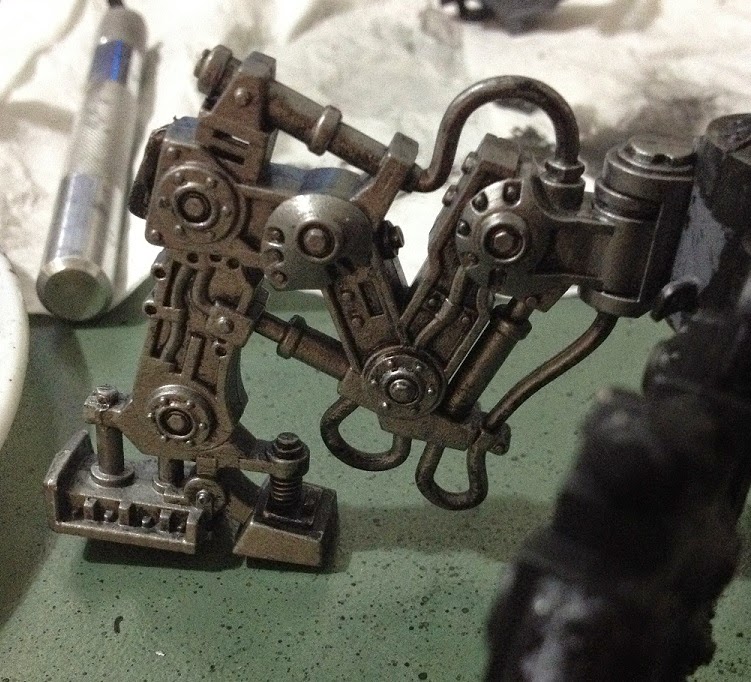
3, I used the P3 colour Pig Iron on the legs and radar followed by a heavy wash of Army Painter Strong Tone Ink (not their dip) over the entire area. Leaving it overnight to dry.


4, I then picked out some details on the legs, in this case it was the hoses and pistons. The hoses were painted up with a few shades of blue/purple/magenta and the pistons were painted with P3 Cold Steel. The body was painted with Red Brown.


5, I then took my airbrush to the main hull and guns giving them a solid Red Brown coat all over.


So that's where it is at currently. If you are a new painter you should be able to tell there is nothing scary there, no wet blending, no enamels, oil washes etc... I do a little bit of weathering at the end t get rid of the factory new look but even then you will see how keeping it simple can be very easy and effective.

Keep the paint flowing.

-Damian